How to record your screen for the first time in OBS Studio
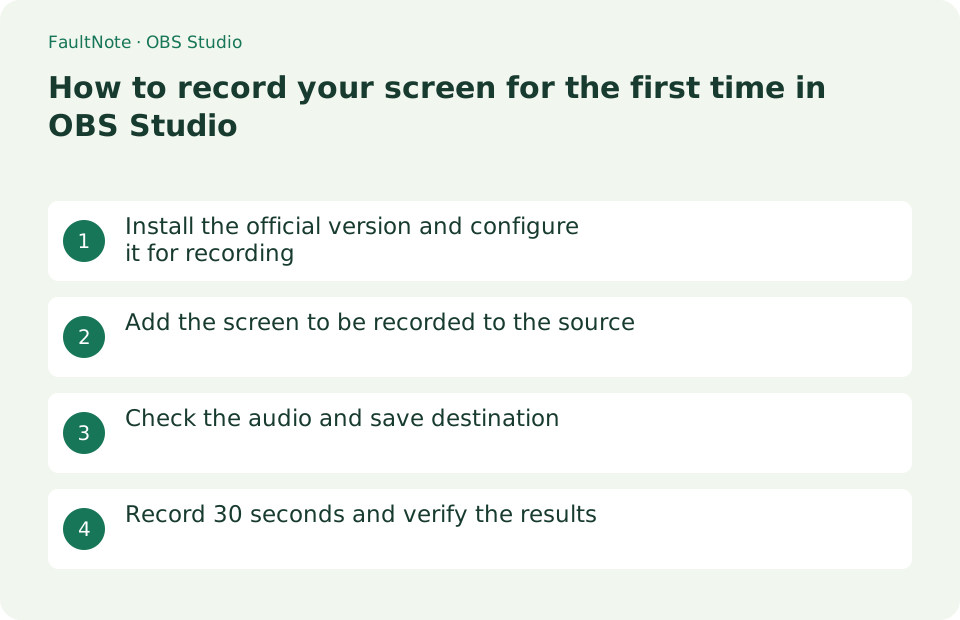
Create settings for recording with the automatic configuration wizard, add a screen capture to the scene, check the volume meter, and take a 30-second test recording. If you check the save destination and stop operation first, you can avoid mistakes where you think you have recorded but the file does not remain.
Published · Updated · FaultNote editorial policy
Who this guide is for and what to prepare
- People who want to record desktop operations on Windows or macOS
- People starting OBS Studio for the first time
What you need
- Display only the screens you are allowed to record and close notifications and personal information
- Make sure you have enough free space to store a few minutes of video.
- Connect a microphone or headset if necessary
Install the official version and configure it for recording
Select your OS on the OBS Project official download page and run the distributed installer. We do not use redistributed versions from third-party sites. When the Auto Configuration Wizard appears the first time you launch it, select the option to prioritize recording over streaming, complete the resolution and frame rate tests, and then click Apply Settings. If you close the wizard, you can run it again from [Tools] > [Automatic Configuration Wizard] at the top.
After applying, the OBS main screen will open, and if you can see [Scene], [Source], and [Audio Mixer] at the bottom, and [Start Recording] on the right side, preparation is complete. The wizard's recommended values are a starting point based on your PC's capabilities and are not intended to eliminate pre-production testing.
- Obtain OBS Studio for your OS from the official page
- Prioritize recording with first-launch automatic configuration wizard
- Review test results and apply settings
Add the screen to be recorded to the source
Select an existing scene in the [Scene] field, or create a scene with a descriptive name such as "Screen Recording" using the [+] button below. Next, press [+] in the [Source] field. On Windows, select [Screen Capture] for the entire screen, [Window Capture] for a specific application, and [Game Capture] for 3D games. For macOS, use [macOS Screen Capture].
Name your new source, select the target display or window, and press OK. Verify that the central preview shows what you want. If you see a black screen or another monitor, do not start recording and double-click the source to select the target again. Drag the red frame of the preview to change its placement, so initially right-click and use [Convert] > [Fit to screen] to make it easier to fit the entire image.
- Select or create a scene
- Select the capture method that suits your purpose from the + sources
- Check target and range with preview
Check the audio and save destination
Check if the [Microphone] meter in the [Audio Mixer] moves while you are talking, or if the [Desktop Audio] works by playing the sound on your PC. If you want to pick up a different device, open Settings > Audio and change the global audio device microphone and desktop audio to the specific device name. Unnecessary sound sources can be muted using the mixer's speaker icon.
Check the Recording File Path in Settings > Output > Recording and specify the folder you can open later. For the recording format, select MKV if you want to reduce the risk of corruption in the event of an abnormal termination, and if necessary, convert to MP4 by selecting [File] > [Remux Recording] after recording. After changing the settings, press [Apply] > [OK] to return to the main screen.
- Check microphone and desktop audio meters separately
- Mute unnecessary sound sources
- Check the save destination and recording format in the settings output
Record 30 seconds and verify the results
Select [Start Recording] on the right and confirm that the button changes to [Stop Recording] and the REC timer in the status bar advances. Operate the screen, speak briefly if you are using a microphone, and select [Stop Recording] after about 30 seconds. Wait for the button to return to [Start Recording] instead of forcing OBS to close while it finishes the recording.
Select [File] > [Show Recordings] and open the video whose creation time matches the test. Play the beginning, middle, and end to check the captured area, resolution, desktop audio, microphone audio, and synchronization. If something is wrong, correct the source or audio device and make another short test. To disable a screen capture, click the source's eye icon; if it is no longer needed, select it and click [-]. Recorded files remain in the configured folder after OBS closes.
- Check the REC time after starting recording
- Operate for about 30 seconds and press end recording
- Check video and audio playback from View Recordings
- Turn off the eye icon for unnecessary captures
Check both readable text and motion
For a tutorial, include small browser text and mouse movement in the same trial. Play the file at roughly the size your audience will use and check whether menu labels remain readable. If still frames look clear but scrolling becomes hard to follow, increase the application text size or slow the scrolling before changing output resolution. Compare a new short recording after each change; a higher resolution can also increase the recording workload.
For a document tutorial, first show a title, scroll once while speaking briefly, and then stop. This checks the image, motion, speech, and ending in one file. If part of the window is cropped, correct the source transform and canvas relationship before relying on later editing.
Isolate doubled microphone audio
If speech sounds doubled, mute microphone-related sources one at a time and record a short comparison. Check whether the global microphone and an added Audio Input Capture source both select the same device. If the microphone is picking up speakers, repeat the trial with headphones. Moving meters confirm a signal exists; listening to the saved file confirms whether the actual recording is usable.
Keep the recording and delivery copy separate
After remuxing MKV to MP4, confirm both filenames and locations, then play the MP4. Remuxing changes the container; it does not repair missing audio or edit the recording. Check that the delivery copy opens and reaches the end, and keep the original MKV until delivery or editing is complete. Before a long session, use a several-minute trial to observe storage consumption and keep the destination drive connected.
Scroll horizontally to see the full table →
| Observed result | Next action | Success condition |
|---|---|---|
| Audio but no picture | Check the source target and visibility in the preview first | A short recording with the corrected source contains video |
| Picture but no speech | Check microphone mute and the selected input device name | The spoken passage is audible in the saved file |
| Choppy picture | Repeat the same action and adjust one output setting at a time | Both static text and movement are usable for the intended task |
Limitations and requirements
- Do not record notifications, passwords, personal information, or meeting participants without permission
- Check the storage space and short test video before recording for a long time
- If the screen is not displayed on macOS, check the screen recording permission of the OS and restart OBS after permission is granted.
Frequently asked questions
The screen remains black.
Stop recording and reselect the target screen/window in the source properties. For macOS, check the screen recording permissions, and for Windows laptops, check the differences in the GPU used by the app and OBS with the official troubleshooter.
Can I record directly in MP4?
Although it is possible, the file may not be completed due to abnormal termination during recording. First, consider recording in MKV and converting it to MP4 from [File] > [Remux Recording].
What if I cannot find the recording?
Check the configured recording path and Show Recordings, then compare file timestamps with the recorded session. Do not confuse an older file in another folder with the current result. A file may be incomplete if OBS or the destination drive was closed before recording stopped.
Is a 30-second test enough?
It is an initial check of the capture target and audio. For a long session, also test several minutes for motion, synchronization, and storage consumption. A successful short sample does not establish long-session stability; monitor the recording timer and destination during the real session.
Sources and verification date
Sources checked: . These sources support the specifications, procedures or prices discussed here. Check each source for applicable conditions and current information.
Related practical guides
- Record game audio only in OBS and test notification exclusion
- Diagnose OBS recording stutter with rendering and encoding statistics
- Record one game in OBS with a specific Game Capture window
- Control OBS Window Capture matching when application titles change
- Crop and frame a source in OBS without stretching the image
- Remux an OBS MKV recording to MP4 before importing it into an editor