Transfer files to SFTP server with WinSCP
After receiving the connection information and SSH host key from the administrator, log in with SFTP, copy the file to the destination, and check the size and modification time.
Published · Updated · FaultNote editorial policy
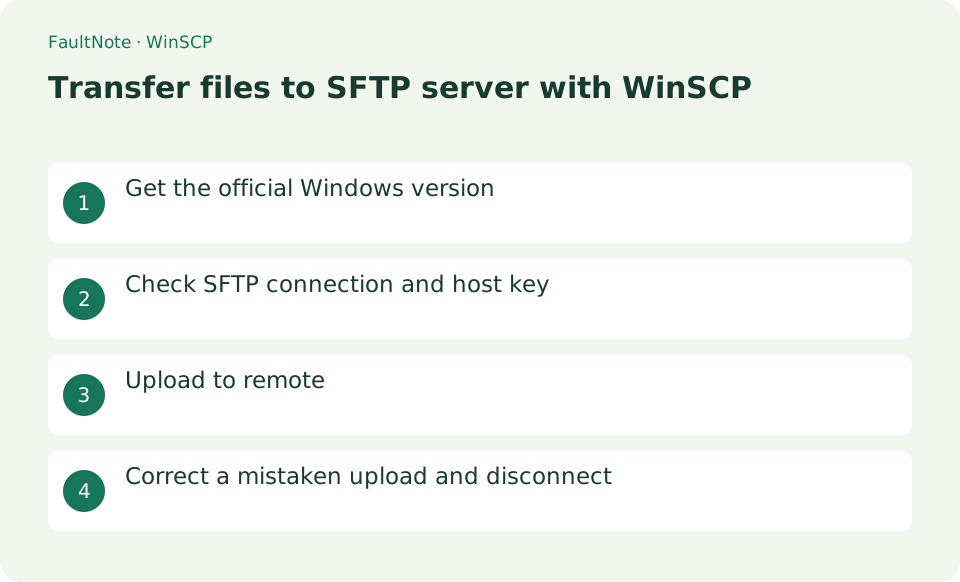
Who this guide is for and what to prepare
- Windows users who want to place files on a web server
- People who want to migrate from FTP to encrypted SFTP
What you need
- Obtain the hostname, port, username, credentials, and remote destination from the administrator
- Receive the SHA-256 fingerprint of the SSH host key via a trusted channel
Get the official Windows version
WinSCP is a free, open-source SFTP client for Windows. Download the installer or portable package from winscp.net. SFTP transfers files over SSH; WinSCP does not create an account on the destination server. Obtain the connection details from the server administrator before you begin.
Verify the destination with a small file
Verify host, destination and content independently. Preserve existing files and test only in an approved location. Transfer success does not establish successful publication.
- Obtain connection, destination and fingerprint details from the administrator.
- Configure SFTP, compare fingerprint separately and cancel mismatches.
- Check the right remote destination and left local file, including environment and full path.
- Copy a harmless sample without Shift-drag and inspect overwrite options.
- Inspect remote name/size and verify content using an approved method; check publication separately and disconnect.
Check SFTP connection and host key
On the login screen, set [File protocol] to SFTP and enter [Host name], [Port number], and [User name]. Configure the password or private key under [Advanced] > [SSH] > [Authentication], then select [Login]. Compare the SSH host-key fingerprint shown on the first connection with the fingerprint the administrator supplied through a separate trusted channel. Select [Accept] and save it only when the fingerprints match. Select [Cancel] if the key is unknown or different.
- Select SFTP as File protocol
- Enter host, port, user, and authentication method
- Verify the initial host key against a known fingerprint
- [Accept] only when there is a match
Upload to remote
In the Commander interface, the left pane is local and the right pane is remote. Open the administrator-specified destination folder on the right and select the files to send on the left. Drag them to the right, review the destination and overwrite behavior in [Transfer options], and select [Copy]. After the transfer, check each filename, size, and modification time in the remote pane. When appropriate, upload under a temporary name and rename the file on the server only after the transfer completes.
Choose the next action from the result
Scroll horizontally to see the full table →
| Result or symptom | Decision and next action |
|---|---|
| Fingerprint matches | Verify destination and permissions separately. |
| Fingerprint changed | Stop and verify legitimate change rather than blindly deleting cached keys. |
| Permission denied | Check account and path permissions without unauthorized changes. |
| Destination exists | Confirm overwrite authorization and preserve the remote previous version. |
Correct a mistaken upload and disconnect
A normal upload copies the file, so the local original remains. Holding Shift while dragging may move it instead and remove the local copy. If you upload to the wrong location, do not overwrite anything without authorization. Check permissions and the publishing impact, then delete the misplaced remote file or restore its previous name as directed. Select [Session] > [Disconnect] when finished, and remove saved passwords and sessions from a shared PC.
Limitations and requirements
- The host key for the first connection is checked against the fingerprint obtained from the administrator, and if there is a mismatch, the connection is canceled.
- Shift drag deletes local files, so do not press it for normal copying.
Frequently asked questions
Can I just accept the initial host key warning?
No. Compare it with the SHA-256 fingerprint obtained through another trusted channel, such as the administrator or server-management console, and save the key only when the fingerprints match.
Local files disappeared after uploading
If you hold down Shift while dragging, it may be treated as a move. Check the remote file and download it again, then use normal drag or F5 Upload.
Is a temporary filename always safe?
Temporary names may still be public; confirm server behavior and approved rename procedures.
What if I uploaded to the wrong place?
Stop transfers and inspect public impact; remote overwritten content needs its prior version or administrator recovery.
Sources and verification date
Sources checked: . These sources support the specifications, procedures or prices discussed here. Check each source for applicable conditions and current information.
Related practical guides
- LocalSend: Transfer Files Between Devices on the Same LAN
- Syncthing: Sync a Folder Directly Between Two Devices
- FreeFileSync: Compare Folders and Create a Mirror Backup
- External SSD vs HDD for backups: capacity, speed and portability
- NAS vs cloud backup: costs, recovery time and maintenance
- Bitwarden Free vs Premium: sync, authentication codes and emergency access