Rufus: Create a Bootable USB from an Official ISO
Prepare the installation/recovery media by writing the official Windows or Linux ISO to a USB. This guide covers installation, practical steps, limitations, and how to stop using the app.
Published · Updated · FaultNote editorial policy
Who this guide is for and what to prepare
- First-time users of Rufus
- People who want to check the storage location and safety of data while reducing manual work
What you need
- Check the processing target and storage location, and preserve the original data in another location
- Check the official distribution source, supported OS, and required permissions
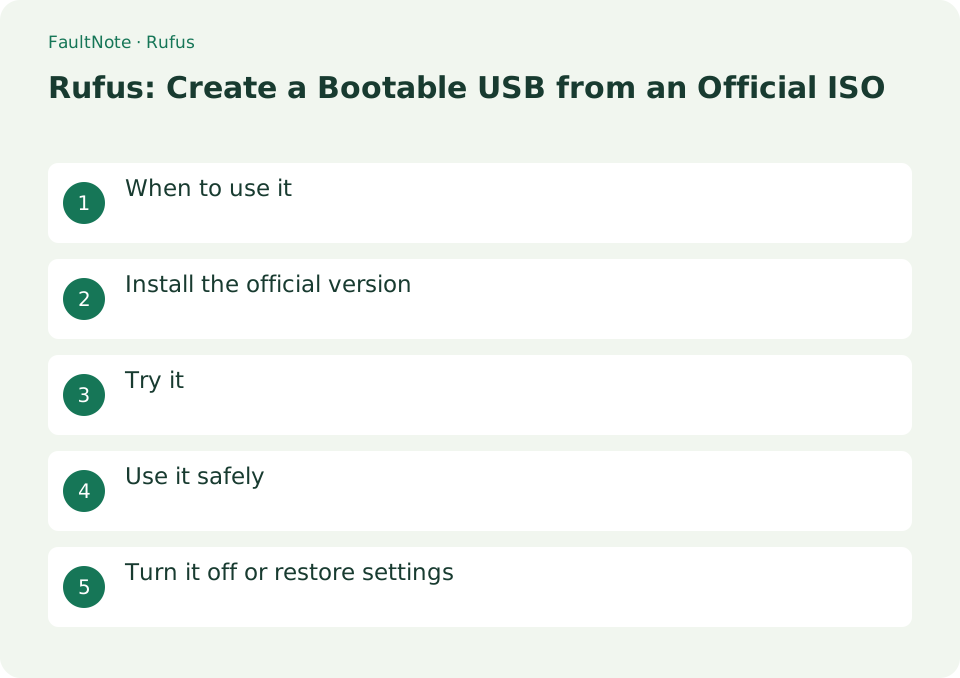
When to use it
Prepare the installation/recovery media by writing the official Windows or Linux ISO to a USB.
Install the official version
- Obtain the official executable file from rufus.ie, check the USB that can be erased, the official ISO, and the UEFI system of the target PC.
Identify the USB target
Disconnect unrelated external backups and compare the intended USB name and capacity with File Explorer. Copy required files elsewhere and verify the copy before writing. A familiar volume label alone is not sufficient identification.
Verify boot before installation
Stop at installer boot, separately from installation. Resolve target USB, ISO and boot-mode uncertainty before erasure. Use the target PC requirements rather than the preparation PC's.
- Back up the USB, disconnect unrelated drives and check Device and capacity.
- Select the official ISO and compare Partition scheme and Target system with target mode.
- Recheck Device before Start and keep it connected through completion.
- Safely remove and select through the target temporary boot menu using manufacturer guidance.
- Exit before installation or partition changes and verify normal startup without USB.
Try it
Connect the USB that can be erased and check the product name and capacity of [Device]. Open the official ISO from [Select]. Select GPT or MBR according to the target PC. Reconfirm the USB at the erase all warning after [Start]. Safely remove and check the boot menu of the target PC.
- Connect the USB that can be erased and check the product name and capacity of [Device]
- Open official ISO from [Select]
- Select GPT or MBR according to the target PC
- Re-check the USB at the erase all warning after [Start]
- Safely remove and check startup in the boot menu of the target PC
Match the boot environment
Obtain the ISO from its OS publisher and match the target UEFI or legacy BIOS environment. For another PC, do not infer requirements from the preparation computer. Available options depend on the ISO; compare defaults with target requirements.
Define a boot-test stopping point
Safely remove the USB and use the target temporary boot menu. Reaching the installer is different from installing to disk. For a boot-only test, exit before partition changes, remove the USB and verify normal startup.
Scroll horizontally to see the full table →
| Observation | Decision and next action |
|---|---|
| USB absent | Check connection, completion and mode before changing internal-disk settings. |
| USB fails to boot | Review ISO/mode compatibility and record the error for manufacturer guidance. |
| Installer opens | Boot succeeds; disk-writing installation needs separate target verification. |
| Old USB files disappear | Check expected erasure and restore backup, avoiding further writes if recovery is needed. |
Use it safely
The selected USB will be erased. Don't judge internal/external drives based on capacity alone and avoid circumventing the security requirements of your organization's devices.
Turn it off or restore settings
Do not unplug the USB while writing is in progress; wait until the completion message appears before safely removing it. When returning to normal storage, save the necessary data, check the target USB, and format it. This operation erases the boot USB you created, so keep it as is if you want to reuse it for installation or recovery.
Limitations and requirements
- The selected USB will be erased. Don't judge internal/external drives based on capacity alone, and don't circumvent security requirements for your organization's devices.
- Check the current specifications in the official documentation and reconfirm on-screen what you want to delete or overwrite.
Frequently asked questions
How to choose between GPT and MBR?
Match the startup method of the target PC. Generally, GPT is a candidate for UEFI, and MBR is a candidate for old BIOS, but check the compatibility display between ISO and target system before choosing.
Can I return the USB to normal use?
You can return to normal use, but formatting will erase the contents. Make sure you are willing to lose the necessary data and boot media before specifying the target USB.
Does booting modify the installed OS?
Booting and installing differ, but proceeding to partition changes can affect data; define the stopping point.
Can I reuse my everyday USB?
Back up contents first; a dedicated clearly labeled USB reduces confusion.
Sources and verification date
Sources checked: . These sources support the specifications, procedures or prices discussed here. Check each source for applicable conditions and current information.
Related practical guides
- PowerToys for Windows: Essential Productivity Tools
- Thunderbird: Manage Multiple Email Accounts in One App
- Firefox: Use Containers and Reader View
- When Smart App Control blocks an app: there is no per-app exception to find
- Verify a Download's SHA-256 Hash Against the Publisher's Value in Windows
- Configure VS Code for the first time