No display after a GPU upgrade: check connections and power when BIOS is also missing
What to do first
When BIOS also disappears after a GPU upgrade, check the display path and physical installation. Distinguish this from a screen that goes dark only after Windows starts loading.
This is a general troubleshooting guide, not an announcement of a current outage.
Affected products and symptoms
- Product
- ASUS Graphics Card
- Versions and conditions
- Desktop PCs after an ASUS graphics-card installation or replacement; power is on but no startup logo or BIOS appears
Symptoms
- The monitor reports No Signal immediately after replacing the graphics card
- Even the startup logo before Windows is absent
Causes and conditions
Possible causes include the display connection, monitor input, PCIe seating and auxiliary power. Start with the connections changed during the upgrade.
Before you start
- Have the GPU, CPU, motherboard and PSU models and manuals available
- Have a photo of the earlier wiring and a known-working display cable
Precautions
- Never swap the card or its power leads while powered
- Connector shape alone does not establish cable compatibility
Tools and official pages used in this guide
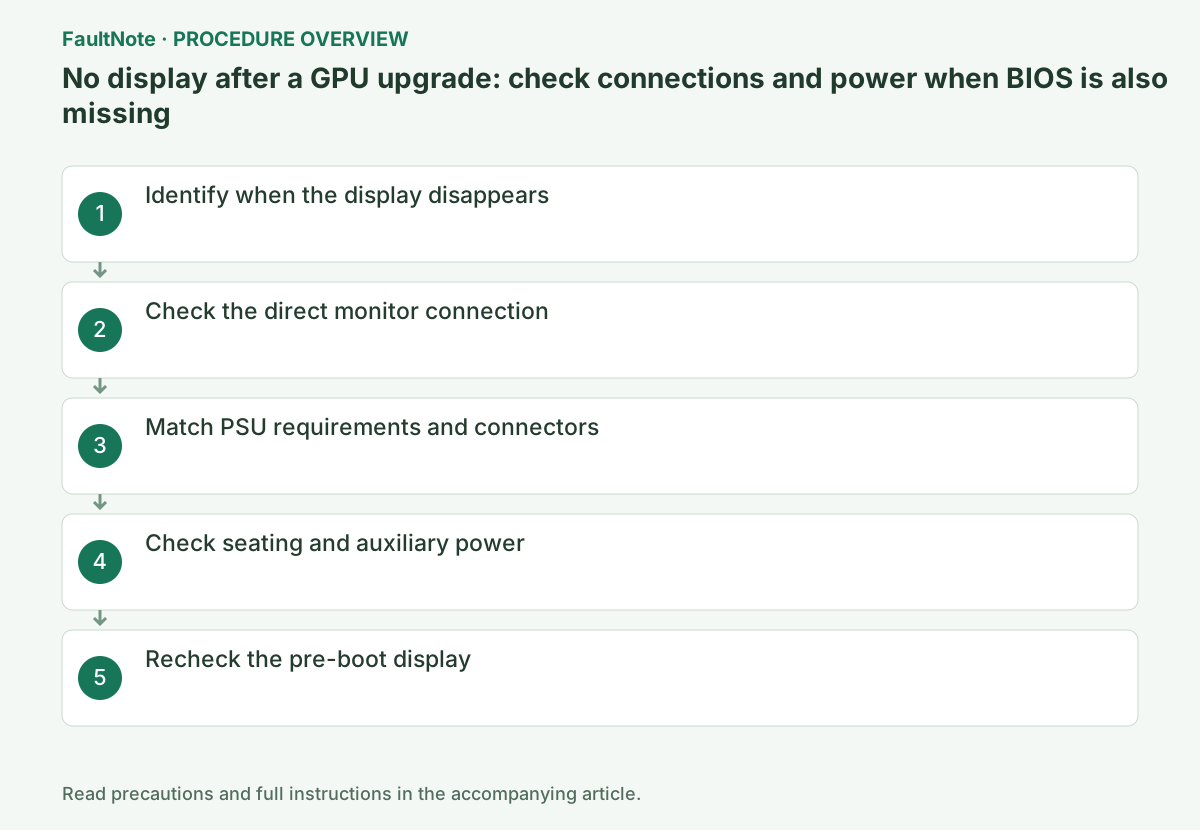
Step-by-step instructions
Check whether any startup logo or BIOS screen appears. Record any persistent motherboard diagnostic label such as CPU, DRAM or VGA.
If BIOS appears and the screen goes dark during Windows startup, record that as a different stage. Avoid blind driver changes while the pre-boot display path is unresolved.
Turn off the PC and monitor, then connect one display directly to an output on the new card rather than the motherboard.
Select the matching monitor input and start the PC. If needed, power down and compare one known-working cable or output at a time.
Official links for this step
Check Recommended PSU and power connectors in the card's Tech Specs. Read the applicable system configuration rather than treating one example wattage as universal.
Before opening the case, turn off the PC and PSU and unplug AC. Use cables documented for that PSU model; do not reuse modular cables merely because they fit.
Official links for this step
Use ESD precautions to inspect PCIe seating, case retention and power connectors. If reseating, use the board's actual latch or Q-Release procedure.
Populate all required power or adapter inputs using the prescribed cable arrangement. Avoid force, bent connectors or pressure from the case panel.
Official links for this step
Reassemble and check for BIOS or a startup logo and any changed diagnostic indication. Confirm the display through a normal restart before moving to OS setup.
If safe to reinstall the original card, disconnect AC and compare with the same monitor setup. An integrated-graphics comparison is valid only when the CPU and board support it.
Check the result
- The new card displays BIOS or a startup logo
- The display survives a restart and the connection comparisons are recorded
If the problem continues
- If only the original card displays, provide both card models, PSU model and wiring photos to support
- If all configurations stop at CPU or DRAM, investigate that startup stage
Scope of this guide
Troubleshooting guide — Check connections and compatibility for the actual components, then choose further diagnosis based on the observed result.
Frequently asked questions
Can I test using the motherboard HDMI port?
Only if the CPU supports integrated graphics and the board provides the output. First test a direct connection to the new card.
Should I remove drivers first?
If BIOS is also missing, check connections and pre-boot behavior first. Darkness after Windows begins loading is a different diagnostic stage.
Official sources and dates
- How to install the graphics card on the motherboard ↗
- Troubleshooting for no display or abnormality on the monitor ↗
- PSU cable compatibility ↗
Source publication or resolution date: 2026-05-14. Sources checked: 2026-09-12. The check date is not the date the problem first occurred. Interface labels can vary between versions and display languages.