Clean and reinstall the graphics driver with AMD Cleanup Utility
What to do first
Obtain the compatible driver first, run AMD's official utility in Safe Mode with a restore point, and reinstall the driver.
This is a general troubleshooting guide, not an announcement of a current outage.
Affected products and symptoms
- Product
- AMD Radeon / AMD Cleanup Utility
- Versions and conditions
- Windows 7 or later, within the official AMD utility's supported scope
- Error codes and identifiers
- GPU-601
Symptoms
- An AMD graphics-driver update or reinstall does not finish correctly, or old components conflict
Causes and conditions
Remaining AMD graphics or audio drivers and software may interfere with a new installation.
Before you start
- First download a compatible driver from official GPU or PC manufacturer support
- Confirm information required for a Safe Mode restart, such as the BitLocker recovery key
- Wait for Windows Update to finish and save open work
Precautions
- AMD graphics and audio drivers are temporarily removed, so the display changes
- AMD chipset drivers are not removed
- Do not run the utility while Windows Update is running because the utility will exit
Tools and official pages used in this guide
Review the official executable, Safe Mode recommendation, and components affected.
For a desktop GPU, select the exact product and OS. For laptops, all-in-one PCs, and handhelds, check the OEM driver first.
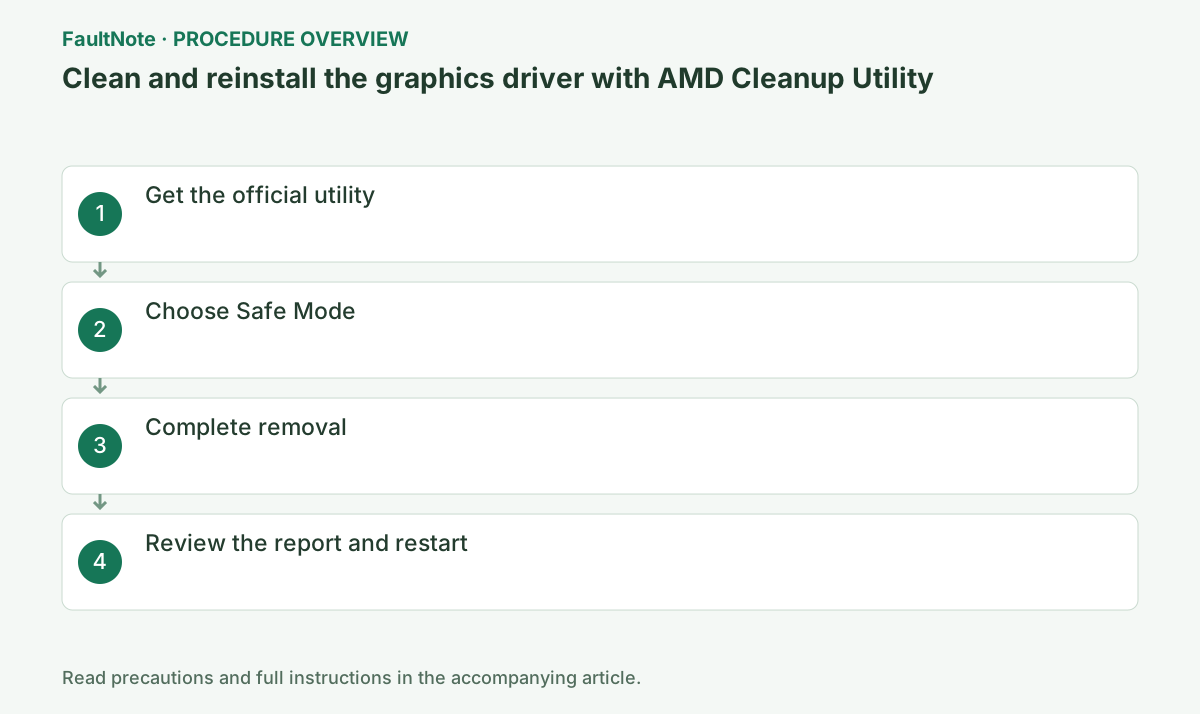
Step-by-step instructions
Record the failed installation, code, and currently usable graphics/audio. Consider the official utility when an ordinary reinstall fails and component cleanup is warranted; do not clean every working setup indiscriminately.
Obtain the recovery package before cleaning. A newer generic package is not automatically appropriate for an OEM configuration. Check recovery credentials privately from their legitimate storage.
Download AMD Cleanup Utility from AMD's GPU-601 article and run amdcleanuputility.exe.
Record the current GPU name and driver version in AMD Software > Settings > System and Device Manager. Decide which version will be restored after cleanup; on a laptop, save the PC manufacturer's package first.
This cleans AMD graphics and related audio, not game files, all of Windows, or chipset software. Record the GPU and current/target versions and retain a compatible installer separately for offline recovery. Check OEM packages for custom laptops or handhelds. One game crash is not a reason to skip scope checks and clean repeatedly.
Official links for this step
- AMD Cleanup Utility
Review the official executable, Safe Mode recommendation, and components affected.
Check before continuingDownload AMD Cleanup Utility from AMD's GPU-601 article and run amdcleanuputility.exe.
- AMD Cleanup Utility
When prompted to restart and run in Safe Mode, choose AMD's recommended Yes. Choosing normal mode may produce different results.
For an OEM PC, check the model's support page before selecting AMD's generic package. Switchable graphics, integrated GPUs, and handheld systems may require an OEM driver, so record the current version and retain a recovery package.
Before a Safe Mode restart, save work and end calls or downloads. Prepare the legitimate recovery key and Windows sign-in method where encryption is used. Distinguish accepting the utility's Safe Mode restart from continuing normally; AMD recommends Safe Mode. Ask the administrator about unclear boot requirements instead of experimenting with startup settings.
Review the explanation and start. Wait through screen flickering or temporary blanking; processing may take 15–20 minutes.
Close games, capture software, GPU monitoring tools, and other installers. Wait for the completion screen or a specific new code, and do not power off if the display flickers temporarily.
Temporary flicker or blanking is documented, so wait for completion or a specific error. AMD says some cleanups can take 15–20 minutes; that is guidance, not a measured time on this PC. Complete Windows Update first and do not run another driver installer during cleanup. Retain exact errors before trying another cleanup utility.
After completion, select View Report to inspect removed items and Finish to restart Windows. Then use this guide's official AMD driver link to select the desktop GPU product series and Windows version. For laptops, all-in-one PCs, and handhelds, prefer the model-specific PC manufacturer driver. Run the signed installer and restart again if required.
After restart, open Device Manager > Display adapters > target GPU > Properties > Driver and confirm the provider and version. If it is not the intended state, do not repeatedly rerun the installer; save Install.log and the latest result.
Review removed items and completion in View Report. Cleanup completion differs from driver restoration; after restart, install the retained compatible official package and record its result. An opening AMD Software window is insufficient: verify Device Manager version/provider, resolution, and required HDMI audio. Retain logs and versions for remaining failures.
Official links for this step
- AMD Drivers and Support
For a desktop GPU, select the exact product and OS. For laptops, all-in-one PCs, and handhelds, check the OEM driver first.
Check before continuingConfirm removal in View Report, then confirm after restart that the intended installed version appears in both AMD Software and Device Manager.
- AMD Drivers and Support
After normal startup, verify GPU/version and the original installation error. Test required games, video, external displays, and audio under the original conditions; a cleanup-complete message is not performance evidence.
If worse, use the documented AMD Cleanup Utility Restore Point or OEM recovery package as appropriate, recording the version and fault first. Avoid repeated alternating installs and cleanups; provide the report, installer result, and GPU to support.
Check the result
- The utility report confirms successful processing
- AMD Software shows the expected driver version after restart
If the problem continues
- If a problem occurs, use the AMD Cleanup Utility Restore Point created by the utility
- For a PC manufacturer's custom configuration, restore the manufacturer-provided release
Scope of this guide
Troubleshooting guide — AMD's official preparation procedure for reinstallation. It does not change chipset drivers.
Frequently asked questions
Can I undo the cleanup?
The utility creates a restore point before cleanup. Use that restore point if a problem occurs afterward.
Does cleanup also install the driver?
No. Save a compatible official package first, install it after the cleanup restart, then verify the version and needed functions.
Official sources and dates
Source publication or resolution date: 2025-09-29. Sources checked: 2026-10-13. The check date is not the date the problem first occurred. Interface labels can vary between versions and display languages.
Related troubleshooting guides
AMD Radeon / Adrenalin errors and troubleshooting →
- Smart Access Memory becomes disabled after installing Adrenalin 26.8.1
- Troubleshoot 173 in AMD Software: Adrenalin Edition
- Troubleshoot 174 in AMD Software: Adrenalin Edition
- Troubleshoot 175 in AMD Software: Adrenalin Edition