Compress all PowerPoint images to reduce file size
This is a feature of the desktop version of PowerPoint and is not available in Microsoft 365 for the web. Let's compare the capacity and appearance using an example of compressing all images to 150ppi.
Published · Updated · FaultNote editorial policy
Who this guide is for and what to prepare
- People who want to save image-heavy pptx files for email or sharing
What you need
- Leave the original file as original.pptx and check the capacity before compression
Choose different outputs for photos and diagrams
Photo-heavy slides and detailed instruction screenshots respond differently to compression. Choose the slide with the smallest necessary labels as your reference. Test on a copy before compressing all pictures, and review at the normal presentation scale.
Keep separately named email and print versions. Check whether compression is restricted to the selected image when you intend to process all images. Compare size after saving, and restore unreadable images before trying stronger compression.
If size barely changes, review inserted videos, recorded audio and embedded objects. Remove unnecessary material only on a copy after confirming the required presentation behavior. A size reduction alone does not prove that needed media survived.
Compress a delivery copy after image placement and cropping are mostly final. Keep full-quality editing assets and use purpose-specific filenames.
If distributing PDF, review that export independently. Its size and readability can differ from the deck, and PDF is not a replacement for an editable .pptx when editing is required.
- Choose the slide with the finest labels
- Create copies for each use
- Compare compression scope and readability
- Verify video and audio playback
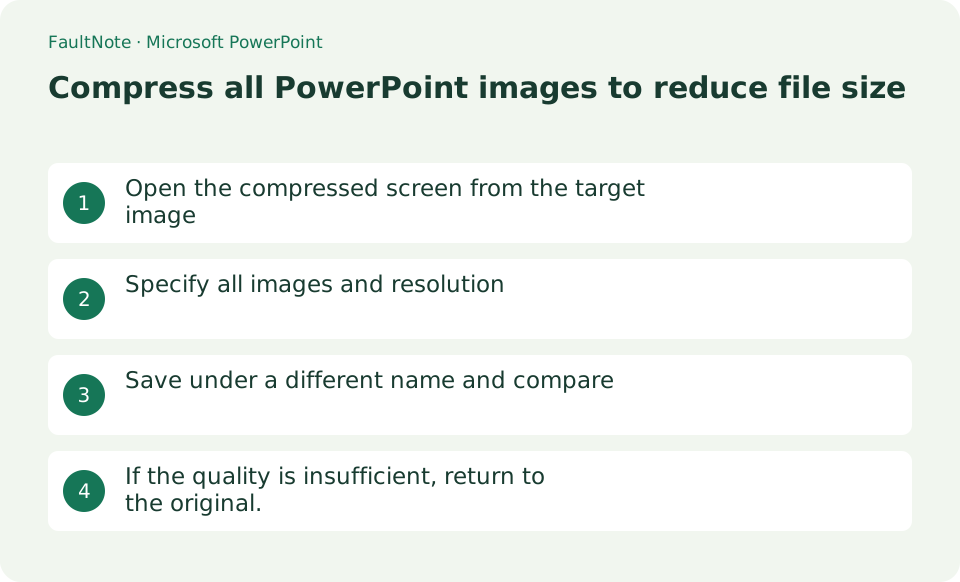
Open the compressed screen from the target image
Select a photo on the slide and select Picture Format > Compress Picture. If you can't see the button, double-click the image and look for the Adjustments group icon. Since it is not displayed in the web version, it will open in the desktop app.
- select photo
- Open diagram format
- Select picture compression
Specify all images and resolution
Clear [Apply only to this picture] to compress every picture. Choose 150 ppi if the presentation is mainly for screen sharing. [Delete cropped areas of pictures] can reduce file size, but the cropped areas cannot be restored later.
- Turn off only this image
- Choose 150ppi
- Decide whether to delete trimming
Save under a different name and compare
After clicking [OK], select [File] > [Save As] and save as compressed.pptx. Compare the capacity with the original in File Explorer, and check for blurred photos, fine text, and charts in all slideshows.
- Save as
- Compare file sizes
- Check image quality with slide show
If the quality is insufficient, return to the original.
Open Ctrl+Z immediately after saving, or original.pptx after saving, and try again at a higher resolution such as 220ppi. Once you delete and save the trimmed portion or edited data, you cannot restore it, so you will have to recreate it from the original file.
- Open original file
- Recompress at higher resolution
- Check on the destination screen
Compare size and quality on the same slide
Save before and after versions under different names and compare their sizes in Explorer. A small reduction can mean video, audio or embedded data dominates the file. Repeated image compression will not shrink those other components.
Compare screenshots and small diagram labels in Slide Show as well as photos. Projection and printed handouts have different needs; choose the output that preserves readable content.
- Record both file sizes
- Compare the same slide full screen
- Check large non-image assets
Keep originals for later cropping changes
Deleting cropped areas can prevent restoring the original visible area later. Perform this on a delivery copy and retain the editable deck and source images, particularly where a subject may need repositioning.
If one picture becomes unreadable, replace it from the original and review its displayed size rather than compressing the entire deck again. A smaller file is not acceptable if essential labels cannot be read.
- Keep an editable copy and source images
- Remove cropped areas only in the final copy
- Replace degraded pictures from their originals
Choose the next action from the result
Scroll horizontally to see the full table →
| State | Interpretation | Next check |
|---|---|---|
| Mostly photos | Compare appearance and size | Inspect faces and dark areas |
| Mostly instruction diagrams | Prioritize small labels | Check controls and annotations |
| Mostly video | Picture compression has limited effect | Review embedded media separately |
Limitations and requirements
- Compression may lose detail and deleted trimmed parts cannot be recovered without the original file
Frequently asked questions
There is no compression button.
It cannot be used in the web version. In the desktop version, select the image and display [Picture Format].
The capacity will not decrease much.
The main cause may be video/audio or embedded fonts. Separately check the media compression etc. in File > Information.
Is compression always reversible?
Saving reduced-resolution images or deleted crop areas can lose original detail. Work on a copy and retain source assets.
Only one picture changed
Check whether compression is limited to the selected picture. Keep an original copy and a detailed reference slide before applying it to all images.
Sources and verification date
Sources checked: . These sources support the specifications, procedures or prices discussed here. Check each source for applicable conditions and current information.
Related practical guides
- Export PowerPoint to narrated video
- ZIP vs 7z: Compatibility, Compression, and Encryption
- PNG vs JPEG vs WebP: Image Quality, Transparency, and Compatibility
- Windows 11: Create and Safely Extract ZIP Files with Built-in Tools
- How to Choose a PC Power Supply: Wattage, ATX 3.1 and GPU Cables
- PCIe 4.0 or 5.0 SSD for gaming? Check load times, capacity and slot sharing