Remove an image background in GIMP and export a transparent PNG
These instructions can be used with the free desktop app GIMP. The names may differ slightly between Windows, macOS, and Linux. Add an alpha channel to the layer where you can remove the background and export to PNG.
Published · Updated · FaultNote editorial policy
Who this guide is for and what to prepare
- People who want to make the solid color background of product images and logos transparent
What you need
- Copy the original image and prepare an image that allows you to easily check the outline.
Prepare a product cutout for a white document
A white product on white background can lose parts of its body during color-based selection. Duplicate the original layer and test a small removal. Consider outlining a simple shape with a path or refining complex selections progressively. Decide whether product shadows belong in the cutout.
Inspect against white for lost edges and against black for pale fringes. Compare hair, fur and glass with the original. Review both at pixel scale and at the intended delivery size so that detailed edits still look natural.
Reopen the exported PNG separately from the XCF, then place it in the destination document. Check for a rectangular background or clipped content. For a small icon, excessive transparent margins can make the subject appear tiny; adjust canvas margins deliberately.
Decide whether shadows should remain when moving a product to another background. Test above a colored layer and compare with the original before removing large areas.
Review visible layers immediately before export and exclude editing-only backgrounds. After exporting again, refresh the destination asset so the displayed image is the new PNG.
- Duplicate the original layer and test locally
- Compare edges on white and black
- Review naturalness at the intended size
- Check background and margins in the destination
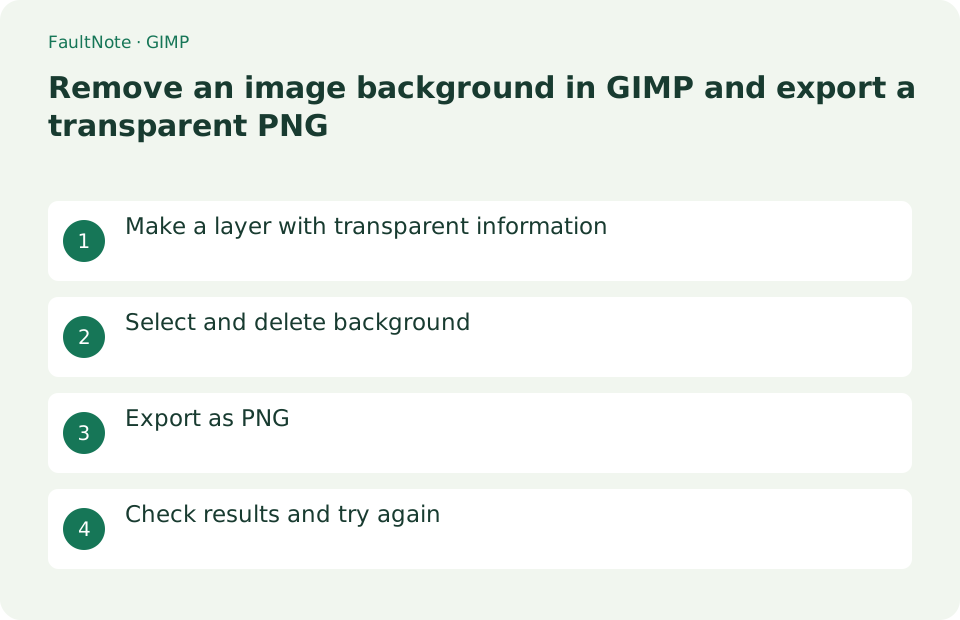
Make a layer with transparent information
Open the image using File > Open, right-click the object in the layers panel, and select Add Alpha Channel. If the item is gray, it has already been added. An alpha channel is required to preserve the translucency of PNG.
- open image
- Select target layer
- Add alpha channel
Select and delete background
For a solid color background, select Tools > Selection Tools > Select Color Gamut and click on the background. Adjust the threshold, zoom in to see if the subject is selected, and press Delete. The checkered part is transparent.
- Select color gamut
- Click on the background
- Check the outline and press Delete
Export as PNG
Enter logo-transparent.png in [File] > [Export As] and press [Export]. Check the PNG settings and try [Export] again. JPEG is not selected because it cannot retain transparent information.
- Export as
- Change the extension to .png
- Confirm PNG settings
Check results and try again
Place the completed PNG on a viewer or document with a colored background and make sure there are no white squares or missing outlines. If you cut too much, lower the threshold and reselect Ctrl+Z. If you want to keep the editing process, save the XCF separately using [File] > [Save As].
- Check PNG on another background
- If you remove too much, restore it.
- Save XCF if necessary
Inspect edges against light and dark backgrounds
Checkerboard alone can hide pale fringes. Place temporary white and black layers below the subject and alternate them while inspecting hair and translucent edges. Restore over-erased detail from the original layer.
Hide both test backgrounds before export or they become part of the PNG. Confirm checkerboard outside the subject and save an XCF copy to retain editable layers.
- Alternate white and black test backgrounds
- Zoom in and repair the edge
- Hide test backgrounds and save XCF
Verify the exported PNG itself
Reopen the exported PNG as a new image. A transparent editing canvas does not prove the export stayed transparent after flattening or changing format. Do not use JPEG for a transparent deliverable.
A white preview in another app may simply be its viewing background. In GIMP, check the reopened file for an alpha channel and verify that a colored layer beneath it remains visible through the cleared area.
- Reopen the PNG independently
- Check its alpha channel
- Test transparency above a colored layer
Choose the next action from the result
Scroll horizontally to see the full table →
| State | Interpretation | Next check |
|---|---|---|
| Removed area is white | Alpha may be missing | Inspect the target layer alpha |
| Canvas is transparent but PNG is white | A background layer was visible | Hide test backgrounds before export |
| A pale fringe remains | Source background remains at the edge | Repair while viewing on black |
Limitations and requirements
- Transparency is not preserved when exporting to JPEG
Frequently asked questions
Even if I delete it, it remains white.
Check whether you have added an alpha channel to the target layer or selected another layer.
The edges of hair and shadows become jagged.
Lower the gamut selection threshold, adjust the contours with selection masks and foreground extraction, and then delete.
Can I deliver transparency in JPEG?
JPEG is unsuitable for transparent backgrounds. Choose a format such as PNG and verify the exported file.
How do I preserve the ability to repair edges?
Keep the original layer and save editable XCF. Use PNG as the separate deliverable and return to XCF for revisions.
Sources and verification date
Sources checked: . These sources support the specifications, procedures or prices discussed here. Check each source for applicable conditions and current information.