Windows 11: Arrange Multiple Windows with Snap Layouts
Arrange multiple windows with snap layout. Turn on Window Snap in Settings > System > Multitasking and check the display options using the expand arrow. Each window fits into the selection frame without overlapping, and you can restore snap groups all at once from the taskbar.
Published · Updated · FaultNote editorial policy
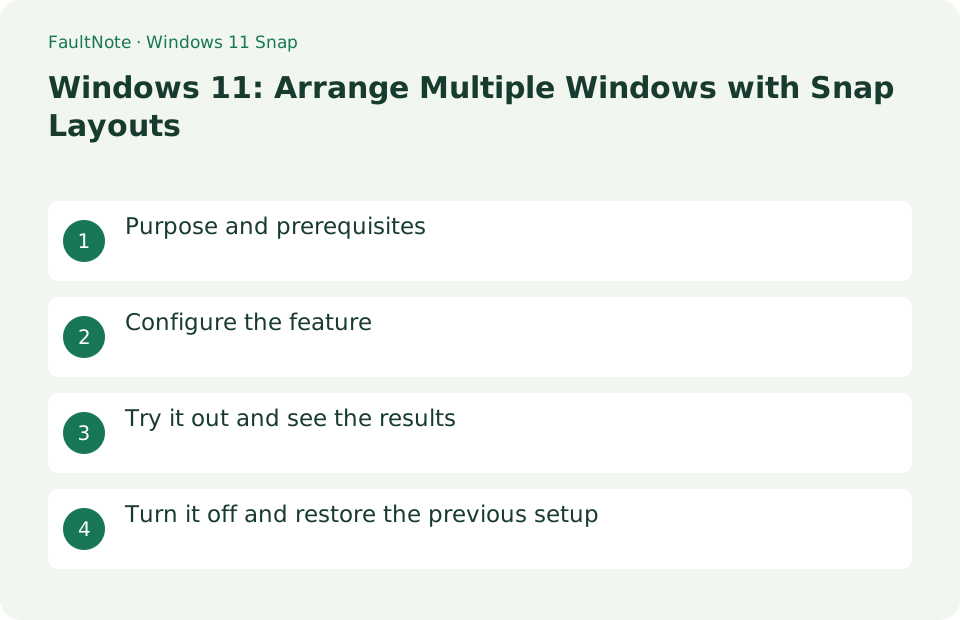
Who this guide is for and what to prepare
- Users who want to streamline daily operations with Windows 11
- Users who want to try out the feature in a way that allows them to restore the settings.
What you need
- Save the file you are working on and try it with test data that does not include personal information.
- Some apps and administrator screens that have a minimum width may not fit in the frame. Save unsaved contents before changing layout
Choose a practical workflow
Put a reference on the left and an editor on the right. Keep the browser on the relevant page and open a blank document. High scaling or a small display may offer fewer layouts, so start with the choices actually available instead of requiring a specific three-column design. The aim is easy movement between reading and typing, not maximizing the number of tiny windows.
Configure the feature
- Turn on [Window Snap] in [Settings] > [System] > [Multitasking] and check the display candidates from the expand arrow.
Worked example: read a reference beside an editor
- Select the browser, press Win+Z and choose the left region of a two-column layout. Hovering over the maximize button can open the same choices.
- Select the editor from the remaining-region suggestions. If suggestions are absent, select the editor and place it in the right region of the same layout.
- Drag the divider to give the reference enough width. Check both readable text and visible save or send controls in the editor.
- After opening another application, hover over a snapped app on the taskbar and check whether selecting its Snap group returns you to the arrangement.
Try it out and see the results
Place the pointer on Win+Z or the maximize button in the target window and select the layout frame. Then use Snap Assist to select the remaining apps. Each window fits into the selection frame without overlapping, and you can restore snap groups all at once from the taskbar.
Open three windows: Notepad, Settings, Browser, press Win+Z on the browser and select the left frame. Select Notepad from Snap Assist to the right frame and drag the center border. The number of candidates varies depending on screen size and aspect ratio.
If you want to have two columns on the left and right, first place the browser on the left half, then select Notepad from the options on the right. If you move to another operation without selecting a candidate, you can also select Notepad and press Win+Right Arrow to move it to the right half. For apps that do not have suggestions on the maximize button, check if you can place them using the keyboard.
Arrange for reference shape and visible controls
Open a browser and Notepad and begin with a two-column layout. Put the reference on the left and the editor on the right. Check that typing does not hide the reference. If three columns are cramped, return to two before shrinking the text.
Choose a reading direction as well as a layout. A consistent left reference and right notes arrangement reduces searching. For a wide table, top-and-bottom placement or temporary maximization may be better. Prioritize seeing both the relevant reference heading and editing location over preserving a particular layout.
Check minimum widths and Snap settings
An application with a large minimum width may not fit a selected region. Try the same layout with Notepad to distinguish an application limit from a general problem. If no applications show choices, check Snap windows and its related options under Multitasking.
Watch controls when resizing a snapped boundary. Narrow windows can collapse toolbars or require scrolling. If a save button disappears, inspect application guidance for another menu or shortcut. Stay within a width where important controls are understandable and reduce the number of regions when cramped.
Handle temporary maximization and display changes
Maximize a window while editing a wide table, then choose the layout again when finished. Save before closing a window. Arranging windows does not save the documents inside them.
Revisit placement after adding or disconnecting a monitor. A missing familiar layout can reflect changed display conditions. Review resolution and scaling and use currently available arrangements. Recreating a layout at the start of work is acceptable. Manage saved content separately from window positions so work can resume on another PC.
Decide between a different arrangement and checking settings
Scroll horizontally to see the full table →
| Observed result | First check | Next action |
|---|---|---|
| The number of choices differs | Try an available two-column layout | Choices vary with display conditions. Missing a layout shown in an illustration alone does not indicate a fault. |
| Only one application will not fit | Substitute Notepad for comparison | Consider minimum size and custom title bars and use another arrangement. |
| No application offers choices | Open Settings: System, Multitasking | Review Snap and the option to show layouts on the maximize button. |
Turn it off and restore the previous setup
Turn off individual suggestions or the entire function in [Multitasking]. If you want to restore only the placement, drag the window out of the frame.
Limitations and requirements
- Some apps and administrator screens that have a minimum width may not fit in the frame. Save unsaved contents before changing layout
- If the settings are fixed on an organization-managed PC, check with the administrator instead of using unofficial methods to circumvent the policy.
Frequently asked questions
Why are the number of displayed layouts different?
The candidates displayed will change depending on the screen size, resolution, scaling, etc.
How do I return the placed window to its normal size?
Drag the title bar to the center of the screen. There is no need to disable the entire feature.
Does arranging windows save documents?
No. Snap changes screen placement. Saving a document, sending a browser form and confirming edits remain application operations.
Must both windows have equal widths?
No. Adjust the divider for readable reference tables and usable editing controls. Application minimum sizes can limit the adjustment range.
Sources and verification date
Sources checked: . These sources support the specifications, procedures or prices discussed here. Check each source for applicable conditions and current information.
Related practical guides
- Windows Snap vs FancyZones: Choosing a Window Layout Tool
- Windows 11 runs but the feature is missing: checking the per-feature requirements before you buy
- When Smart App Control blocks an app: there is no per-app exception to find
- Windows has three startup modes: what Fast Startup actually loads
- Is quick machine recovery enabled on your PC? The defaults, and the network it actually needs
- Windows now drives the keyboard backlight: native control and autobrightness in 25H2