Windows 11: Schedule Night Light Automatically
Automatically adjust Night light according to the time. Open [Settings] > [System] > [Display] > [Night light] and adjust the intensity slider. The screen changes to a warm color at the specified time or when you select [Turn on now], and returns to the standard color at the off time.
Published · Updated · FaultNote editorial policy
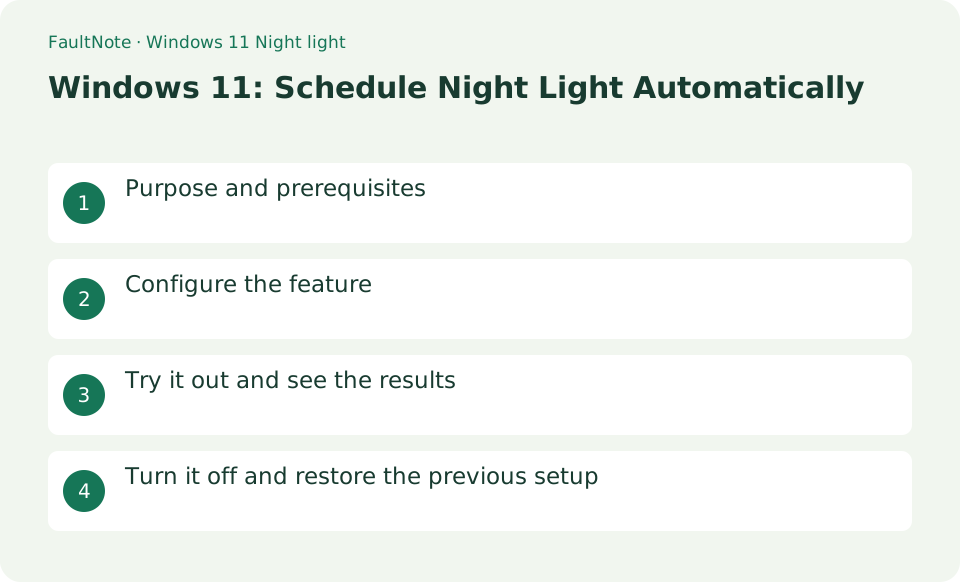
Who this guide is for and what to prepare
- Users who want to streamline daily operations with Windows 11
- Users who want to try out the feature in a way that allows them to restore the settings.
What you need
- Save the file you are working on and try it with test data that does not include personal information.
- The appearance differs with HDR, some display drivers, and external monitors. Do not use while color proofing photos/prints.
Choose a practical workflow
Use a warmer display during evening reading and assess it separately from brightness. A monitor warm-color mode can combine with the Windows setting, so record existing conditions first. The same strength value can look different on different displays; another person's value is not automatically the right one.
Configure the feature
- Open [Settings] > [System] > [Display] > [Night light] and adjust the intensity slider
Worked example: warm the display for evening documents
- Open Settings, System, Display, Night light. Keep a white document visible and use the immediate toggle to inspect the color change.
- Adjust strength gradually and check black text on white remains readable. If the result is extremely yellow, record the monitor own color settings too.
- Enable scheduling and begin with specified start and end times. Check the PC clock and inspect the state at the actual switching time.
- Turn it off for color-sensitive work. Inspect the same image without the tint before editing, then reenable as needed for ordinary document work.
Try it out and see the results
Turn on [Schedule night light] and select [Sunset to sunrise] if you want to allow location information, or select [Set time] if you don't want to use it. The screen changes to a warm color at the specified time or when you select [Turn on now], and returns to the standard color at the off time.
Check if the white background becomes a warm color with [Turn on now], and increase the intensity from a low value. Sunset-to-sunrise scheduling requires location information, and if you do not allow it, specify the start and end times. Be sure to turn it off before checking photos and product colors.
Open the details of [Night light], first select [Turn on now] and adjust the intensity while watching the color change. If you want to fix the time, turn on the schedule and enter the start and end times. When correcting the color of a photo or checking printed colors, warmer colors can make a difference, so turn off Night light and compare with the normal display before starting work.
Choose warmth and separate color-sensitive work
Open a white document and adjust Night light gradually. Check readability before returning to work. Temporarily turn it off for photo editing or print color matching so you do not correct an image based on a tinted display.
For sunset-to-sunrise scheduling, review location-based timing and the PC clock. After travel or a time-zone change, try specified hours to compare the intended schedule. Record previous settings for restoration. Your working hours may differ from sunset, so choosing explicit times is reasonable.
Review clock, location and scheduling
Review the PC clock, time zone and Night light schedule. For sunset-to-sunrise scheduling, check the location requirements too. Try a manual toggle first to distinguish a display feature problem from a scheduling problem.
Compare monitors using the same white document and application, including a Night light-off state. Monitor-specific blue-light or color-temperature modes can prevent matching by Windows strength alone. Review each product standard mode and use appropriate color management for color-critical work. Do not use a warm-tinted display as a print-color reference.
Inspect monitor modes and HDR conditions
Show the same white document on each monitor. If colors differ, note monitor color settings and other display conditions such as HDR. Night light alone is not a procedure for matching every display.
If colors still look wrong after turning it off, restore changed conditions individually. Monitor temperature, HDR and application display choices can also affect appearance. Compare the same image rather than changing several settings together. A color difference alone does not establish that driver reinstallation is needed.
Distinguish manual operation from scheduled operation
Scroll horizontally to see the full table →
| Observed result | First check | Next action |
|---|---|---|
| Manual toggling changes color | Review the schedule and clock | Check timing before treating the feature itself as broken. |
| The setting is unavailable | Inspect the display driver state | Some drivers do not support it. Do not begin with unofficial registry changes. |
| Only one monitor differs | Inspect its own color settings | Record HDR and other display-mode conditions as well. |
Turn it off and restore the previous setup
Turn off Night light and turn its schedule off. For color evaluation work, temporarily turn it off from the quick settings.
Limitations and requirements
- The appearance differs with HDR, some display drivers, and external monitors. Do not use while color proofing photos/prints.
- If the settings are fixed on an organization-managed PC, check with the administrator instead of using unofficial methods to circumvent the policy.
Frequently asked questions
Is it different from brightness adjustment?
Night light is a feature that changes the display colors to warmer colors. Adjust the screen brightness with a separate brightness setting.
Can I leave it on when editing photos?
Since the displayed color changes, please turn it off and check it when you are trying to judge the color.
Should I use Night light or brightness adjustment?
They serve different purposes. Night light warms colors; brightness is adjusted through available Windows controls or monitor controls. Change color and brightness separately when investigating readability.
Should I correct an image that looks yellow?
First turn Night light off. Mistaking display warmth for an image color error can lead to unnecessary edits. Preserve the original image while working.
Sources and verification date
Sources checked: . These sources support the specifications, procedures or prices discussed here. Check each source for applicable conditions and current information.
Related practical guides
- When Smart App Control blocks an app: there is no per-app exception to find
- Windows has three startup modes: what Fast Startup actually loads
- Is quick machine recovery enabled on your PC? The defaults, and the network it actually needs
- Windows now drives the keyboard backlight: native control and autobrightness in 25H2
- Why Device encryption is missing from Settings, answered by System Information
- Point-in-time restore and the 200 GB OS volume: a new line in the storage capacity decision