M.2 SSD missing in BIOS: check SATA/NVMe support and the correct slot
What to do first
Start by matching the BIOS view and slot specification to the actual SSD. Check interface compatibility, resource sharing and seating while preserving existing data.
This is a general troubleshooting guide, not an announcement of a current outage.
Affected products and symptoms
- Product
- ASUS Motherboard
- Versions and conditions
- M.2 SSDs on ASUS desktop motherboards; BIOS is accessible but SSD detection is unclear
Symptoms
- An installed M.2 SSD is absent from the expected BIOS list
- A SATA drive disappeared after adding an M.2 SSD
Causes and conditions
Check the BIOS view, supported interface, shared-port rules and physical seating. The M.2 form factor alone does not establish SATA or NVMe compatibility.
Before you start
- Record the full SSD and motherboard models and the occupied slot
- Establish whether the drive contains existing data or is new and empty
Precautions
- Do not toggle CSM or SATA mode indiscriminately to test detection
- Do not initialize existing data or insert and remove an M.2 drive while powered
Tools and official pages used in this guide
Step-by-step instructions
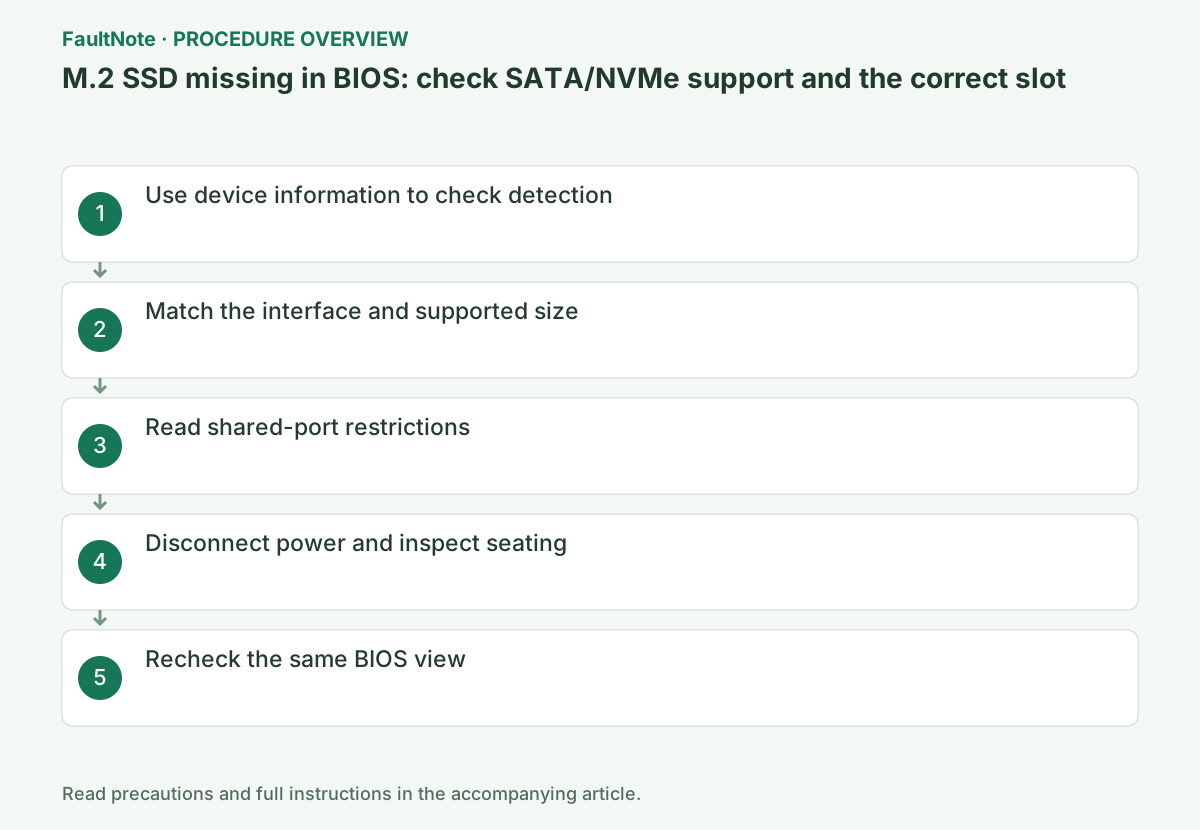
Enter BIOS with Delete and inspect Storage Information or the documented device list. Record device detection separately from its presence in boot priorities.
Some older ASUS BIOS designs omit NVMe drives from EZ Mode Storage Information. Check the documented NVMe view too; ROG X870E provides Advanced > NVMe Configuration.
Official links for this step
Read the SSD specification to identify SATA or PCIe/NVMe, then check support for that interface and module length in the occupied slot.
A module that physically fits may still use an unsupported interface. Do not transfer another board's M.2_1 or M.2_2 rules to your model.
Official links for this step
Read the storage table and footnotes for SATA ports or other slots affected by M.2 use. Compare those rules with the connections before and after the upgrade.
If only another drive disappeared, check whether the sharing rule explains it. Move a connection only after the power-disconnection step and only to a supported position.
Shut down, switch off the PSU and unplug AC. Use ESD precautions and follow the model instructions for opening the case and removing any M.2 heatsink.
Hold the SSD by its edges and check connector engagement and mounting position. If reseating, use the correct support and screw or latch without force or board bending.
Official links for this step
Reassemble and check the same BIOS device view for the model or capacity. If trying another supported slot, change one location at a time and disconnect AC before each move.
If BIOS detects it but Windows cannot open it, investigate the OS disk state next. Do not accept initialization or formatting prompts for a drive containing existing data.
Check the result
- The SSD is identifiable in the appropriate BIOS device view
- Other drives affected by port sharing are accounted for
If the problem continues
- If detection still fails in a compatible slot, provide the models, positions, BIOS revision and comparison results to support
- If BIOS detects it and only the Windows drive letter is absent, inspect the volume state in Disk Management
Scope of this guide
Troubleshooting guide — Separate connection, compatibility and configuration causes using observed results, then verify detection and operation after restarting.
Frequently asked questions
Is a new SSD faulty if it is absent from boot priorities?
Boot priorities alone are insufficient. Check storage or NVMe device information first.
Why did a SATA drive disappear after installing M.2?
A shared-port restriction may explain it. The affected ports depend on the motherboard manual.
Official sources and dates
- Cannot find a hard disk or M.2 SSD after motherboard powers on ↗
- FAQs for SATA and M.2 SSDs ↗
- How to install an M.2 PCIe NVMe SSD ↗
- ROG X870E Series BIOS Manual, E25062 ↗
Source publication or resolution date: 2026-08-28. Sources checked: 2026-09-12. The check date is not the date the problem first occurred. Interface labels can vary between versions and display languages.
Related troubleshooting guides
Windows errors and troubleshooting →